STEP 1.
The first thing to do is draw an outline of what your rifle will look like. Start by drawing an outlined shape that looks very much like a pick or golfing tee. Next draw the shape of the scope and add the lining for the mounting brackets.STEP 2.
Here you will start sketching out the stock of the riffle. Just under the scope you will see that I also drew in the shape and design of the bolt action lever as well. This is a very simple step, so take your time with it.STEP 3.
Step three basically focuses on drawing out the actual shape of your scope. Scopes almost always flare out in the front, and tapper off at the end. The rear part of your scope is what your eye looks through. Once the scope is drawn, you can then sketch out more of the stock as you see here.STEP 4.
Now you will draw a line at the back of the butt of the gun, and then add some fine detailing. Once that is done you can then draw out the shape of the trigger, and the finger holster. Next sketch out the steel part of the rifle which starts under the scope, and trails to the front of the gun. Once you get past the scope, you will sketch out the barrel of the riffle, and then add the detailing marks, and definition.STEP 5.
All you have to do here in your last drawing step is sketch out the back mounting bracket, and then draw the knob which is used to adjust your sight. Sketch in a few detailing lines, and then your ready to clean up your drawing by erase the unwanted lines and shapes.
STEP 6.
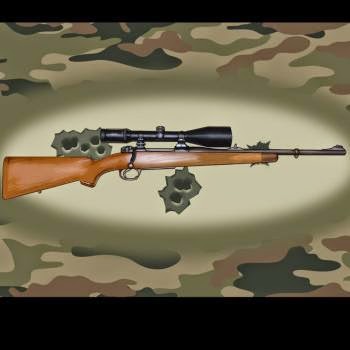
In the end your sketch should look like the one you see here. Drawing a hunting rifle has never been so easy has it? I had a good time with this tutorial, and I hope you did too. Join me again for more drawing fun!


No comments:
Post a Comment